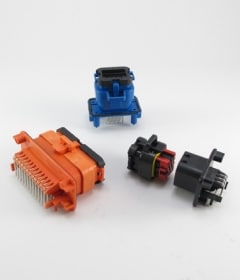
AMPSEAL Connector Overview & Assembly Instructions (English)
Contact Insertion
- Grasp crimped contact approximately one inch behind the contact barrel.
- Check that the wedge lock of the plug assembly is in an open position. Align the contact with the applicable cavity.
- Insert the contact into the connector cavity until there is an audible or tactile click. A slight tug will verify the contact is locked in place.
- After all the contacts have been inserted, close the wedge lock by simultaneously squeezing locking latches inward and pushing the wedge lock into the housing.
Contact Removal
- Insert the tip of a screwdriver between the edge of the plug assembly housing and one corner of the wedge lock.
- Gently pry the edge of the wedge lock until it is released from (but not completely removed) the housing. Repeat these steps for the opposite corner of the wedge.


