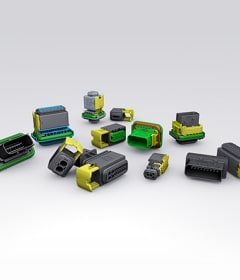
Heavy Duty Sealed Connector Series Overview & Assembly Instructions (English)
Contact Insertion
- Grasp crimped contact approximately one inch behind the contact barrel.
- Make sure the contact is in the correct orientation. Verify the integrated secondary lock is in the unlocked position.
- Push contact straight into the connector grommet until a click is felt. A slight tug will confirm that it is properly locked in place.
- Push the integrated secondary lock into the locked position with a DT-RT1 or a screwdriver.
Contact Removal
- Using a DT-RT1 or a screwdriver, unlock the integrated secondary lock.
- Using the appropriate extraction tool, insert the blades into the contact cavity until they stop.
- Pull contact wire assembly out of connector.


