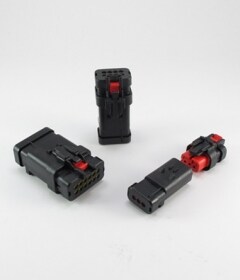
AMPSEAL 16 Connector Overview & Assembly Instructions (English)
Contact Insertion
- Grasp crimped contact approximately one inch behind the contact barrel.
- Verify the PLR is in the pre-staged position, unlocked.
- Align the contact with the desired circuit cavity at the rear of the housing assembly.
- Push the contact straight into the connector cavity until the contact retention finger returns to its normal position behind the retention shoulder on the contact. A slight tug will verify the contact is locked in place.
- When all of the required contacts have been inserted, push the PLR into the fully locked position.
Contact Removal
- Insert the removal tool into the PLR extraction slot and pull until the PLR is completely removed from the housing.
- Insert the tool into the contact cavity and deflect the contact retention finger.
- Gently pull the wire until the contact is free from the housing.
Learn how to crimp our AMPSEAL 16 (Heavy Duty Stamped & Formed size 16) contacts. Watch this video for step-by-step instructions on crimping the contacts using hand tools.