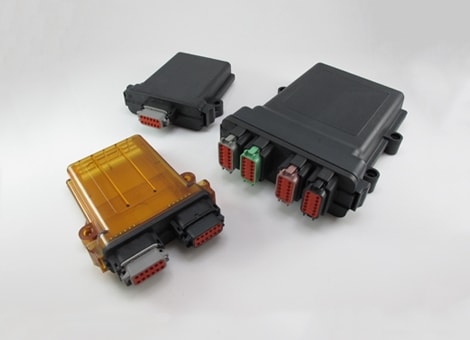
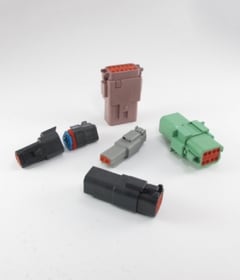
DEUTSCH PCB Enclosure and Header Overview & Assembly Instructions (English)
Enclosure and Header Assembly
- Slowly slide the circuit board into the enclosure.
- Push the header and the enclosure together until you hear and feel the locking tabs click.
- Push the plug into the header until you hear a click and the exterior locking latches are seated in place.
Enclosure and Header Disassembly
- Depress the locking latches on the outside of the plug while pulling the plug from the header.
- Insert a screwdriver between the header’s locking tab and the enclosure.
- Depress the locking tab on the header to release it from the enclosure. Repeat this process on the other side.
- Pull the PCB header assembly straight out of the enclosure.


